Seeing this makes me take a blast to the past! My mom always used pita pockets for us growing up. She would stuff these things with various items and I am now using these nice tips for my family!!
Breakfast- Scrambled eggs/ a little bit of cheese/turkey bacon or turkey sausageLunch ideas- Mexican style: Grilled chicken breast with grilled onions and peppers black beans with a bit of quinoa/ Greek style Grilled chicken/lamb or beef greek yogurt made into tzatziki sauce romaine lettuce grilled veggies / any kind of salads
Kids Almond butter/honey and banana
Almond butter/sugar free jelly with bananas
melted turkey and cheese
You Asked for It! Gluten-Free, Allergy-Friendly Pita Bread
Posted by Cybele Pascal
Pita bread is a perennial favorite, but thus far, nobody has come up with a gluten-free version, at least not one that I’m aware of! Here, on my Food Allergy Recipe Challenge, I’ve been asked for the better part of a year to create a recipe, so that those on GF diets can dunk, scoop, and stuff their pita pockets along with the rest of the world.
The most recent request came from Cathy, who in addition to avoiding the top eight allergens, also must say no to corn, sesame, and oats. Now that is my kind of challenge, so this week I finally got off my duff, and created that pocket for you.
Why make your own pita bread? Well, it’s fun to make with kids (I still marvel at the magic of yeast activating the rise in fresh bread), it’s tastiest when fresh out of the oven, and this way you know exactly what ingredients went into it.
Plus, making gluten-free breads is actually easier than baking traditional wheat varieties. I know that might seem counter-intuitive, but gluten-free breads require only one rise, so the total time is halved. Gluten-free breads also don’t require any kneading---another time-saving bonus!
 What would you like me to attempt for my next challenge? Remember, you can request something more than once… I plan to get to them all!
Gluten-Free Pitas


Makes 8 pita pockets
Who doesn’t love stuffing a pocket with hummus and veggies? Or dunking pita triangles? These pita pockets are delicious. Be sure to use rapid-rise yeast, and don’t rush the rise. Enjoy!
1 cup plus 2 Tbsp warm water (110°F - 115°F)
1 Tbsp sugar
1 packet rapid-rise yeast*
3 ¼ cups Gluten-Free Bread Flour Mix (my recipe follows)
3 tsp xanthan gum (Authentic Foods Xanthan Gum is corn-free)
1 tsp salt
2 Tbsp plain coconut milk yogurt (So Delicious)
1 Tbsp olive oil
1. Combine warm water with sugar and rapid-rise yeast in the bowl of a stand mixer fitted with the paddle attachment. (Be sure your water isn’t too hot, or it will kill the yeast. Use a thermometer to guarantee it’s the right temp!) Whisk well, incorporating the yeast and dissolving the sugar. Let rest to "proof," about 5 minutes.
2. Measure the flour mix by spooning it into a dry measuring cup, then leveling with a straightedge. Combine flour mix with xanthan gum and salt, whisking well.
3. Add coconut milk yogurt and olive oil to yeast mixture. Blend on medium speed.
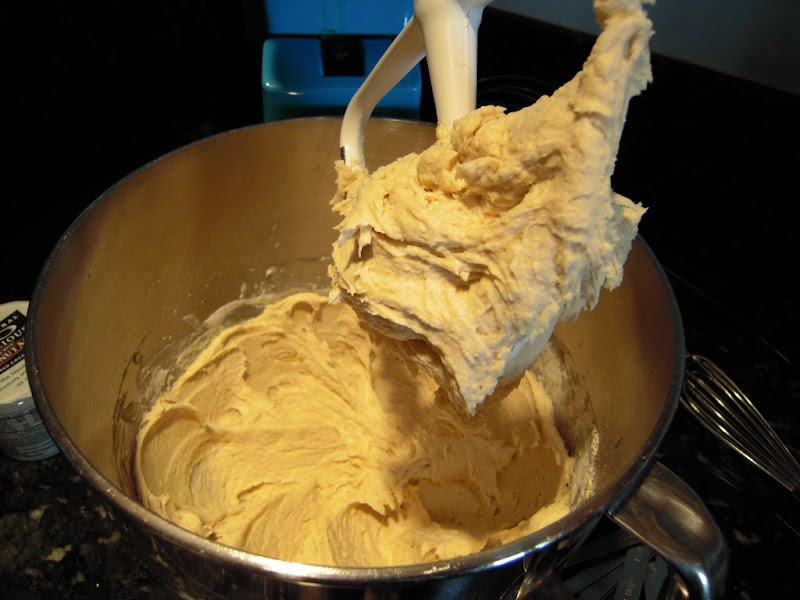
4. Add flour mixture to mixing bowl, and blend on low until incorporated, then medium speed until dough is thoroughly combined, scraping down sides of bowl as necessary. It will be quite sticky.
5. Sprinkle a work surface amply with some GF bread flour mix. Use a rubber spatula to turn out dough onto work surface. Dust hands with a little flour mix and sprinkle dough with a bit more. Mold into a ball. Cut into quarters, then cut quarters in half, for a total of 8 pieces. Sprinkle with a little flour mix, then roll into balls.
6. Brush two baking trays with olive oil. (I use a pastry brush to be sure it’s evenly distributed.) Transfer 4 balls to each tray. Use the palm of your hand to flatten the balls into 5 1/2 –inch rounds. Use fingers to shape edges as necessary.
7. Adjust oven racks to the two lowest positions in oven. Fill a baking pan with very hot water and place on bottom of oven.
6. Cover trays with plastic wrap. Place in oven and let rise until pockets start to form, about 1 hour. You will probably want to change your hot water once halfway through.
7. Remove trays and pan of hot water from oven. Set aside.
8. Preheat oven to 500°F.
9. Bake pitas one tray at a time on lowest rack in oven until golden brown, 10 minutes. Transfer to cooling rack. They will be hard. Let rest about 10 minutes. The steam will finish the pocket-making process, and they will soften up a bit.
10. Cut pockets in half. Use a knife to separate pocket if necessary. Best when eaten fresh.
No comments:
Post a Comment